Azure Marketplace PAYG
Get started with ClickHouse Cloud on the Azure Marketplace via a PAYG (Pay-as-you-go) Public Offer.
Prerequisites
- An Azure project that is enabled with purchasing rights by your billing administrator.
- To subscribe to ClickHouse Cloud on the Azure Marketplace, you must be logged in with an account that has purchasing rights and choose the appropriate project.
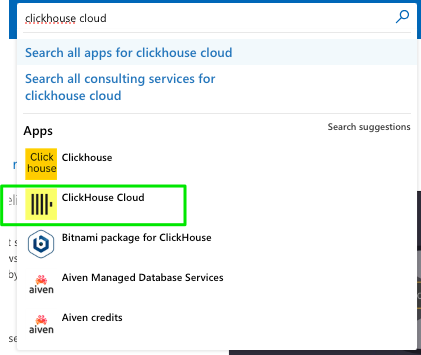
- Go to Azure Marketplace and search for ClickHouse Cloud. Make sure you are logged in so you can purchase an offering on the marketplace.
- On the product listing page, click on Get It Now.

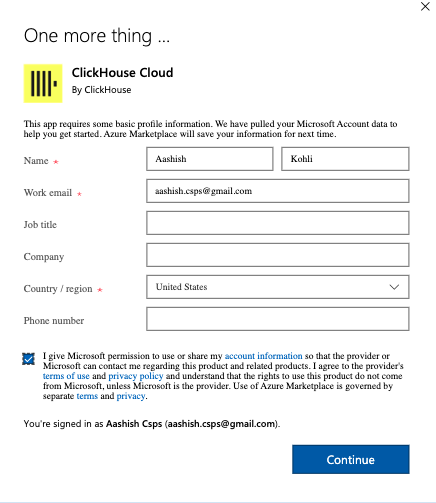
- You will need to provide a name, email, and location information on the next screen.
- On the next screen, click on Subscribe.

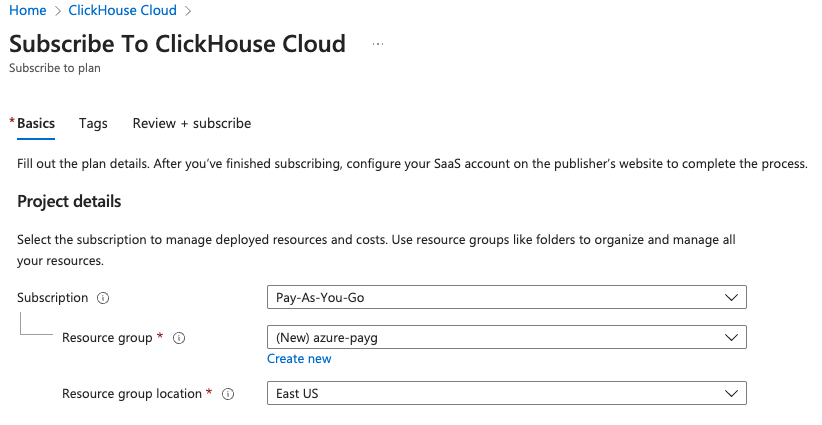
- On the next screen, choose the subscription, resource group, and resource group location. The resource group location does not have to be the same location as where you intend to launch your services on ClickHouse Cloud.
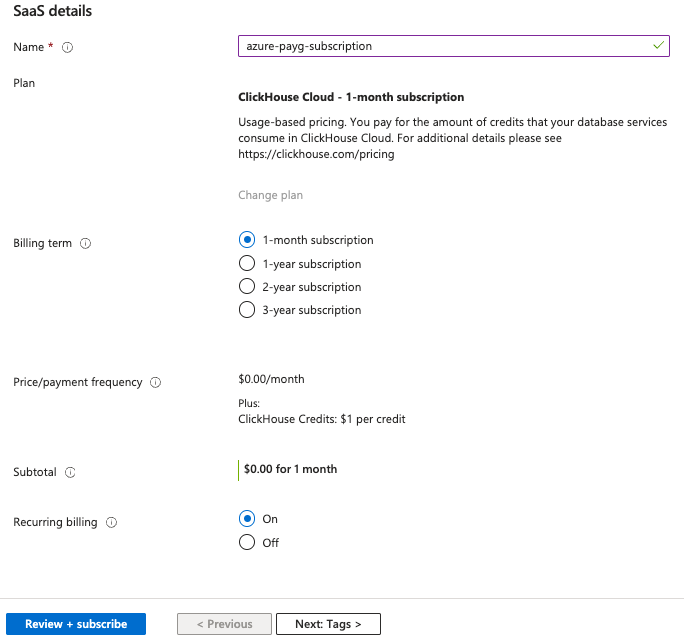
- You will also need to provide a name for the subscription as well as choose the billing term from the available options. You can choose to set Recurring billing to on or off. If you set it "off", your contract will end after the billing term ends and your resources will be decommissioned.
-
Click "Review + subscribe".
-
On the next screen, verify that everything looks correct and click Subscribe.

- Note that at this point, you will have subscribed to the Azure subscription of ClickHouse Cloud, but you have not yet set up your account on ClickHouse Cloud. The next steps are necessary and critical for ClickHouse Cloud to be able to bind to your Azure subscription so your billing happens correctly through the Azure marketplace.
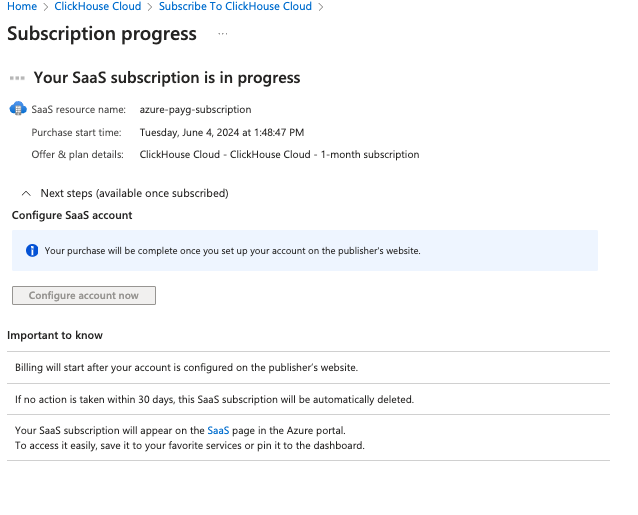
- Once the Azure set up completes, the Configure account now button should become active.
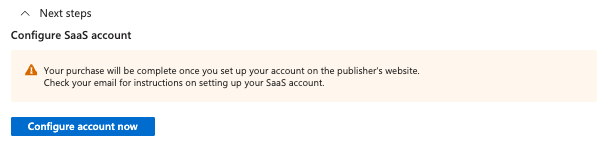
- Click on Configure account now.
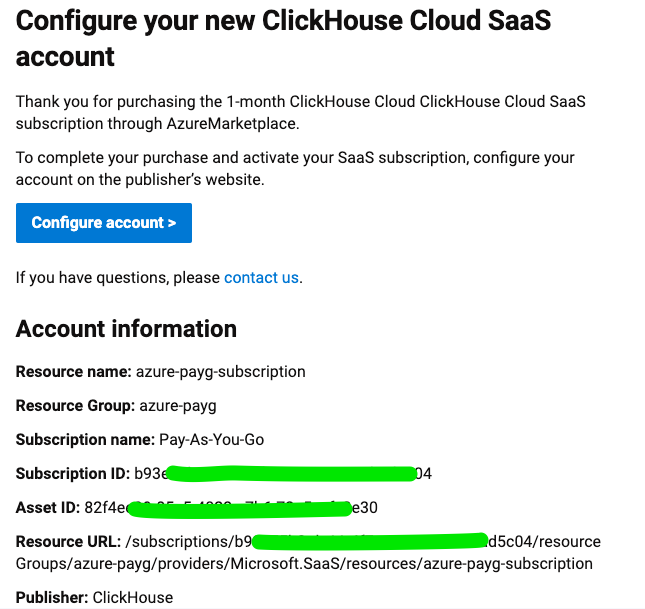
You will receive an email like the one below with details on configuring your account:
-
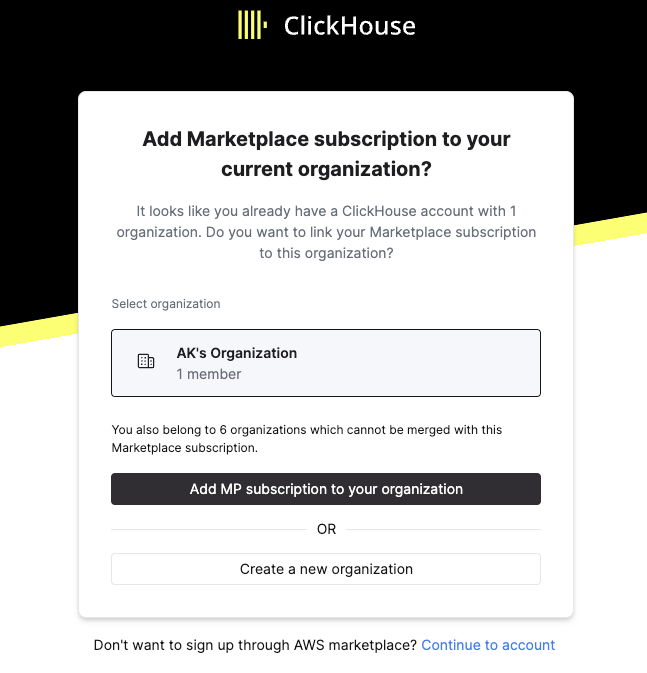
You will be redirected to the ClickHouse Cloud sign up or sign in page. Once you redirect to ClickHouse Cloud, you can either login with an existing account, or register with a new account. This step is very important so we can bind your ClickHouse Cloud organization to the Azure Marketplace billing.
-
Note that if you are a new user, you will also need to provide some basic information about your business. See the screenshots below.

Once you hit Complete sign up, you will be taken to your organization within ClickHouse Cloud where you can view the billing screen to ensure you are being billed via the Azure Marketplace and can create services.


- If you run into any issues, please do not hesitate to contact our support team.
